Showing posts with label learning. Show all posts

Friday, 6 October 2017

Hooked on books? Visit Hook On Books!

Have you been to a place that stirs up those buried interest, passion and dreams and you leave the place feeling so happy and alive? 

The Foong Family visited 童言童语 (Hook On Books) a few weeks back and it is one of those places. It was especially so for Mama Esther (me!) who used to be a Chinese Teacher.

Personally, I find Chinese Language a very beautiful and Creative language. Think about it, which language's written characters were originated from how the object or scenario looks like? And how a portion of the character can tell you its material or the pronounciation? Just the word "carry" can be expressed in different degree in Chinese: 拿、提、扛、背、带、载、搬、抱、拎、抬!

Sadly, the Foong kids' level of Chinese language is not that great. Lack of exposure and environment to speak and limited time to practise (we only have our evenings as a dual income family) could be reasons (but cannot be convenient excuses).

Creating interest is important. With interest comes motivation and learning will be a joy. :) Saw this place on my NIE lecturer's Facebook and off we went!

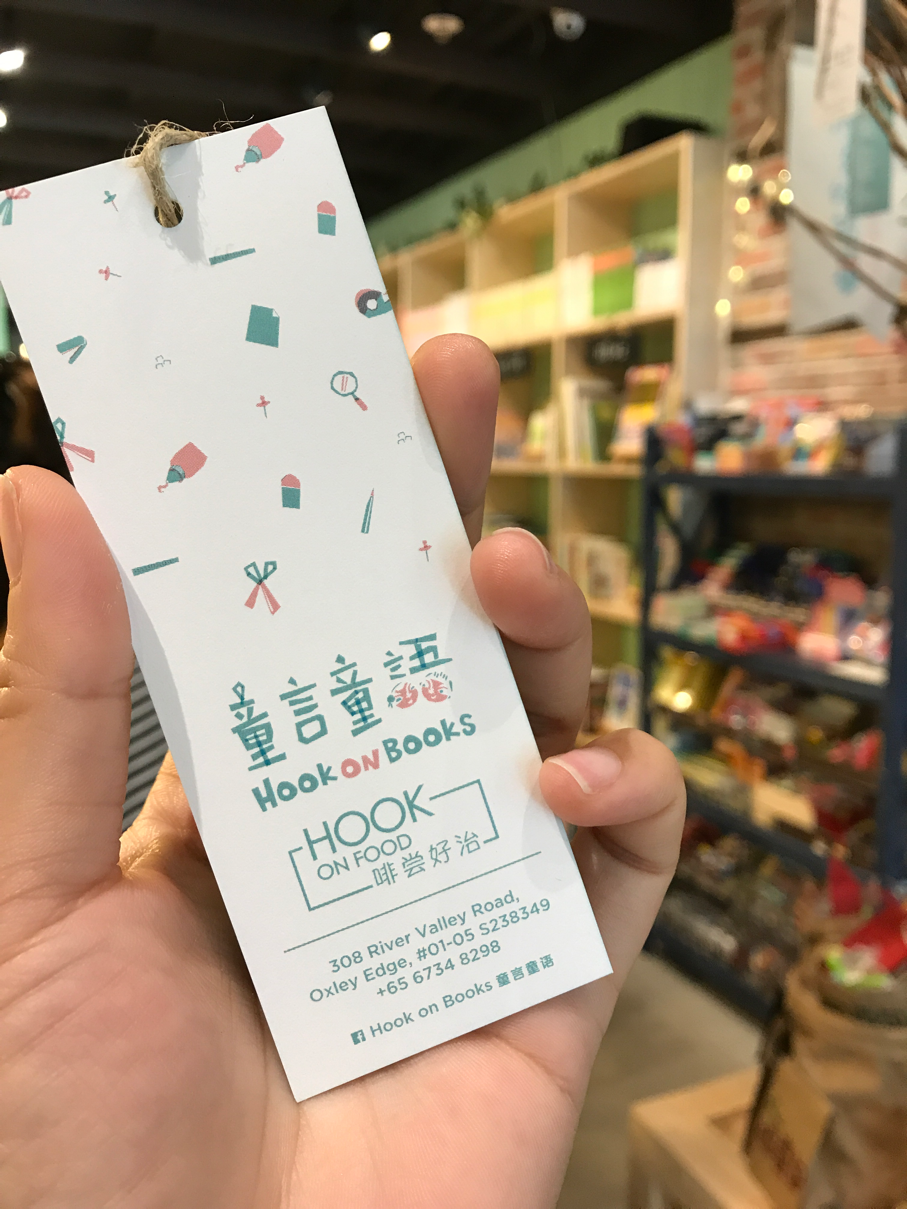
What welcomed us at first sight are those big 卡通体 words! 童言童语!I felt as though I was in Taiwan!
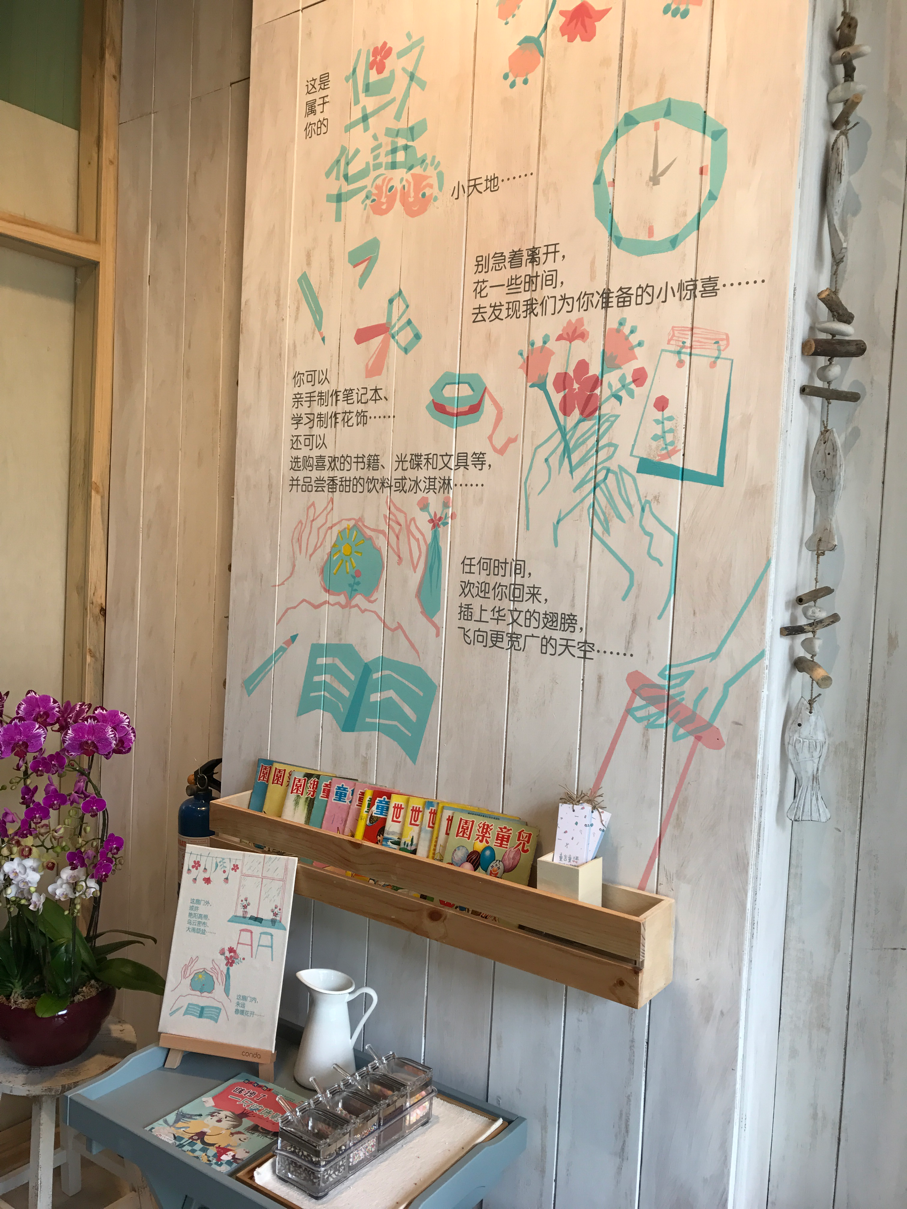

“这是属于你的华文华语小天地…”
Before you enter, this beautiful board gives you the instruction how you can enjoy this space.


At Hook On Books, other than purchasing books and stationeries, you can also go to a little corner to take a read. The books here are donated by public and quite a big collection of different genres.


From top left: books for sale, starioneries and traditional games, surprise bags and recommended reads.


Even the toilet is nicely done with a soundtrack of birds chirping playing in the background.


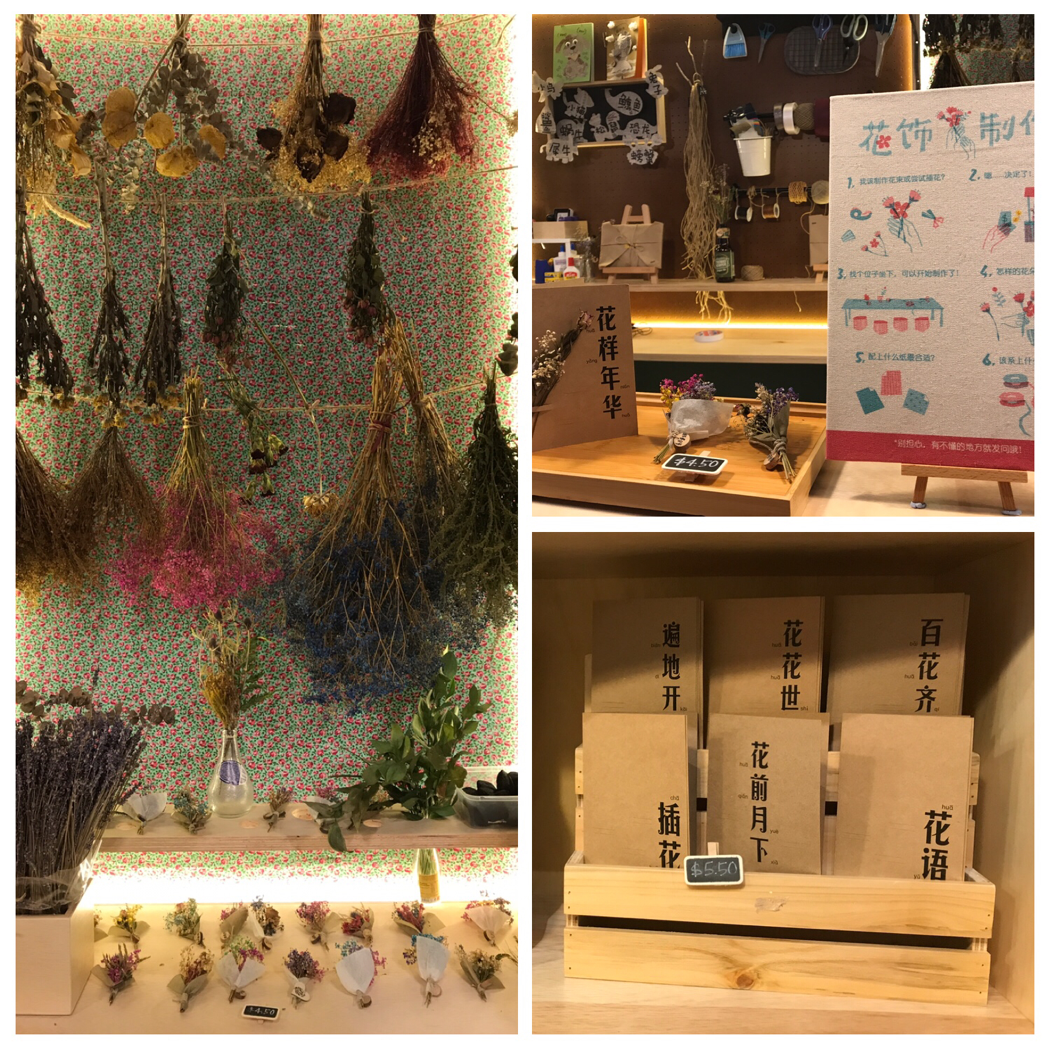
If you thought that this is just a book shop, you are so wrong! You can handmake notebooks, cards and dried flower bouquets at a very reasonable price. :)


Notebooks
There are two sizes that you can opt for: 
A5 for $8.50
A4 for $9.90-10.90


You can choose the papers for the cover and inner pages. I especially like the inner pages: single lines, Chinese squares or calendar. 


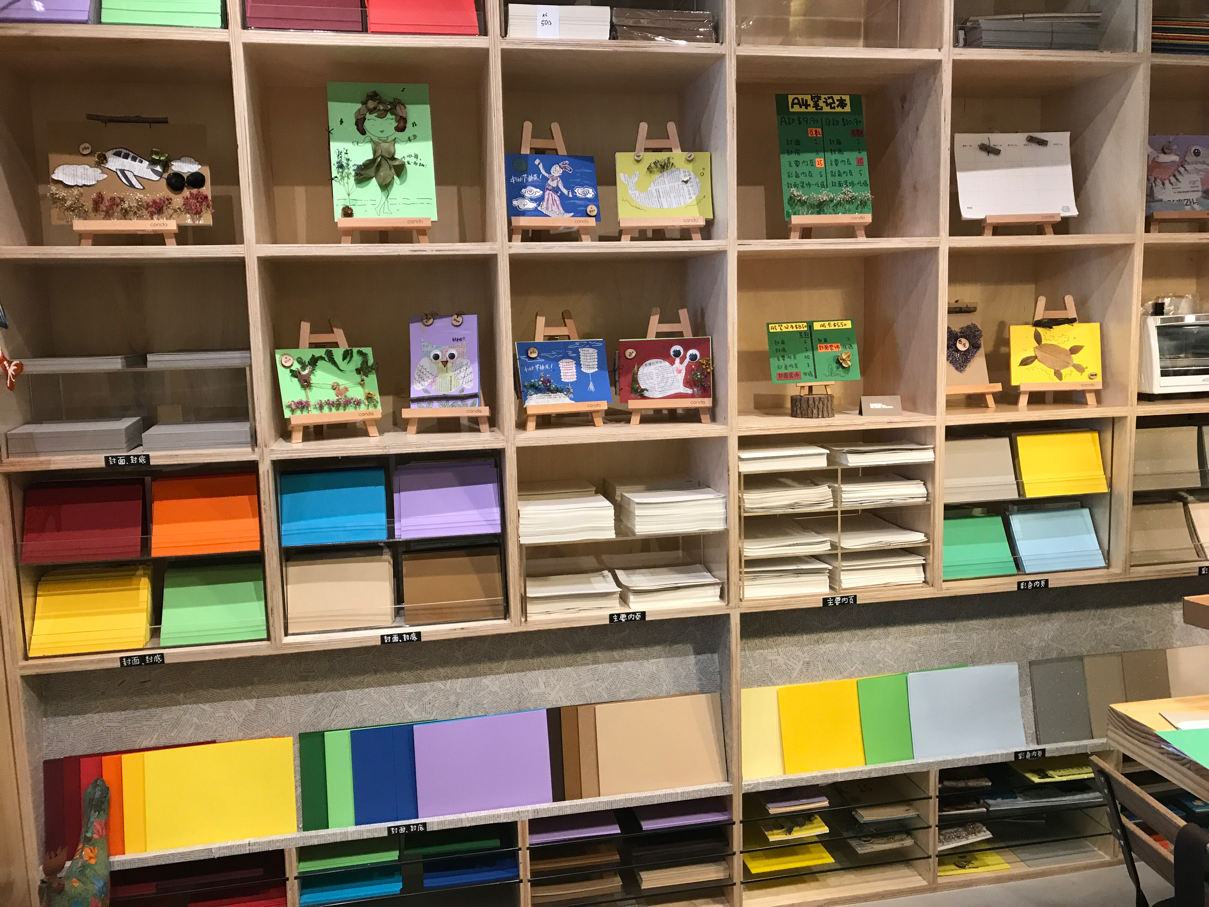
The shop was very generous with the materials provided. Dried flowers, little wooden decorations and animal templates that the ladies cut out themselves!


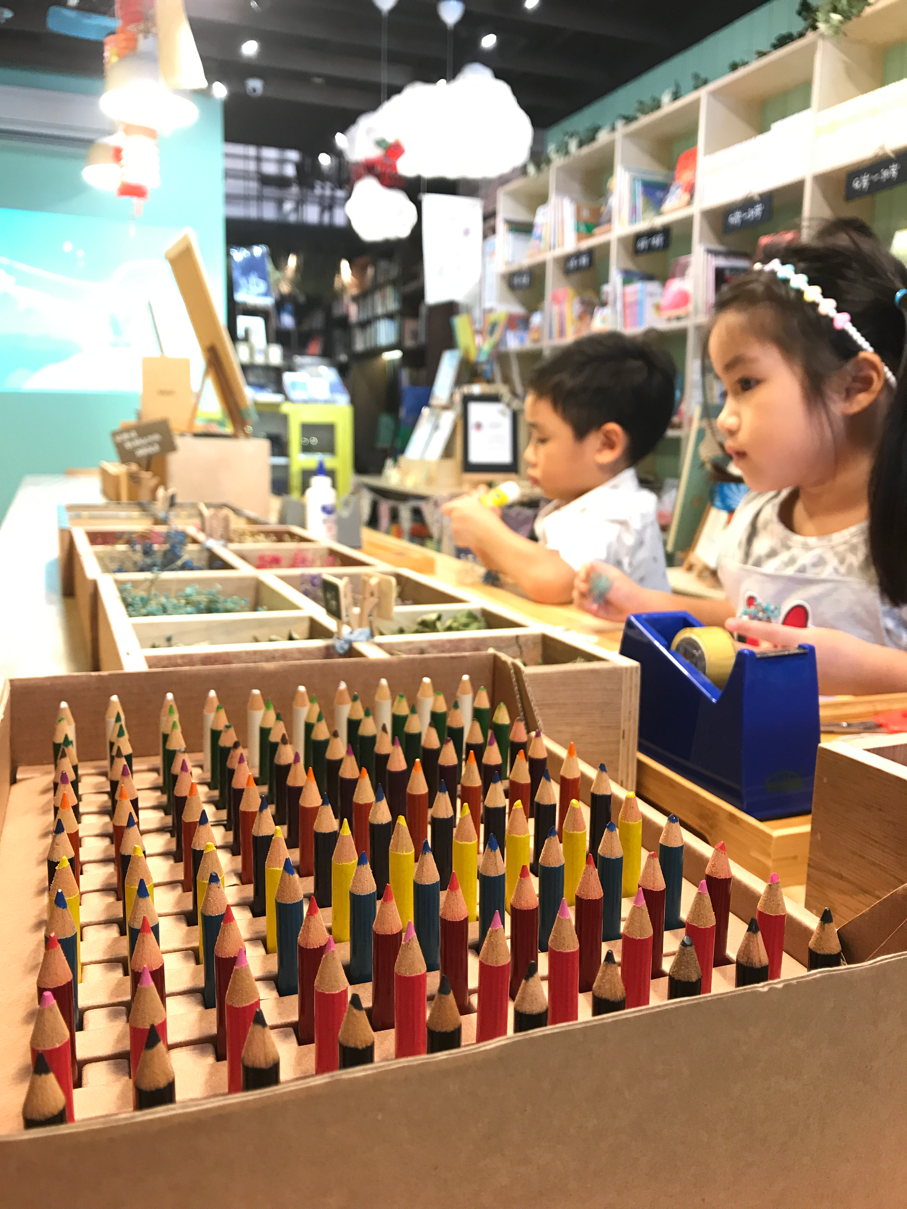
A special mention of the ladies at the shop! They were patient and spoke very pleasantly. Nathan and Phoebe had a fun time just decorating and drawing!


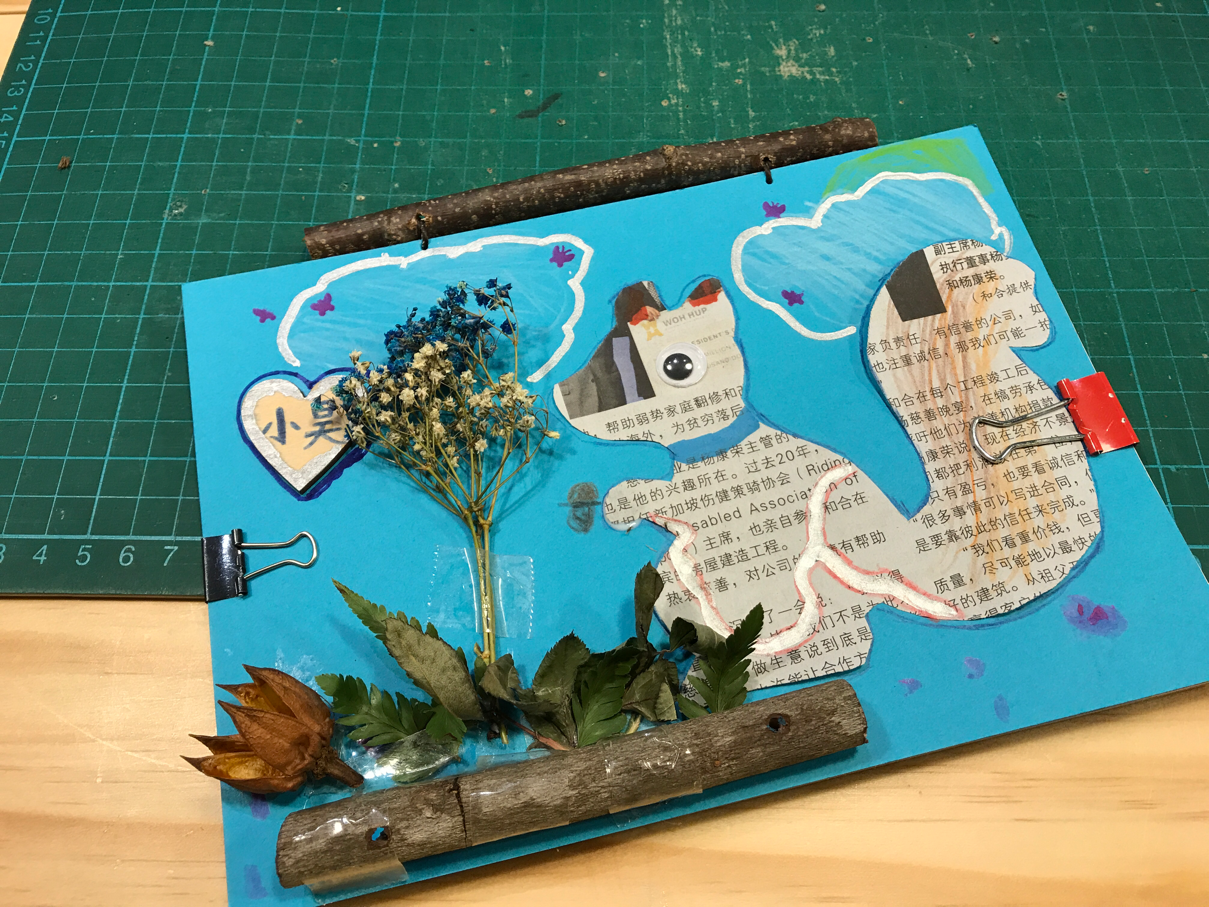
Here are their beautiful end products that the ladies have bound together using strings and little brunches!


We were in the shop for a good 1.5hrs and we ended the session with a yummilicious fruit juice!


Here's the details of the shop! Don't say I bo-Jio! :)


Tuesday, 22 August 2017

Let's pop some corn!

POP POP POP!


When I was young, my mum used to pop corn kernels once in a Long while. We didn't have a pot with a transparent glass lid so each time, I would just stay near to hear the sound of the kernels popping and hitting the lid. The sound tickled me and it was always a very happy moment for me. 😆😆


Last night, I decided to make some popcorn with the kids and I found this confirm-won't-fail method that would make sure your popcorn comes out not burned and will be crispy!


And I'm gonna share it with you!!!!!


You need:

(1) corn kernels (cheap cheap from Sheng siong)


(2) canola oil (don't use olive oil, it burns too fast!)

(3) butter (I used salted butter to give some balance to the sweetness)

(4) icing sugar


Making the sweet but light coating

I used a microwave-safe container with lid that would be used to store the popcorn later because I don't want to wash so many things.

Melt some butter in the microwave and stir in the icing sugar until totally dissolved. I added a little bit of water to aide the dissolving process. 


Before


After


Now we are going to pop pop pop the kernels!


Step 1: Pour some canola oil in the deep pan on medium high heat


Step 2: Put in 3 kernels and wait for them to pop. 

The reason for this step is to Ensure the heat is just right for the actual popping.


Step 3: *important* Pour in the amount of kernels you wish to pop AND remove from heat and count 30 secs!

The kids and I counted together loudly and as we counted, the popping started! The kids went crazy, going into this all giggly mode!


Step 4: Return pot to medium heat and shake the pot here and there to trigger more popping. You could tilt the lid a little to let the air out so the popcorn will be even crispier and drier. 


Step 5: when the intervals between the popping drags out to a few seconds, remove from heat.


Step 6: Pour the popcorn into the coating mixture we prepared in the beginning and keep tossing until evenly coated!


You are done!


Look at these happy faces!


I had to stop the kids before they polished off the entire box!


You could make the session more meaningful by teaching about:

(1) POPCORN (when corn pops, it become pop-corn!)

(2) 爆米花

The popcorn indeed looks like a flower (although I was told there are the mushroom species and butterfly species and the kernel we used belong to the butterfly shaped popcorn, I cannot be confusing them by saying 爆米蝶!).

So 玉米🌽 ➡️爆炸💥➡️爆米 ➡️像花🌸🌼➡️爆米花🍿


Alright, now it's your turn to try! Have fun!

Tuesday, 16 May 2017

Language game: Smack the Alphabets!

Last Friday we went to Phoebe's school for "Sharing and Learning" and we learnt a language game that we wanna share with all the parents!


Smack the alphabet!


Things to make:

(1) Alphabet Tiles with Velcro backing

(2) Individual Gloves


Phoebe's hand is small so we traced and cut out her palm from foam paper for thickness and added a piece of felt cloth so the Velcro can stick onto the palm.


How to play:

1) Lay the alphabet tiles facing down


2) Players take turns to smack a tile


3) based on the letter stuck on the glove, say a word starting with the letter (e.g. D- dog)


*You can increase the difficulty by setting criteria for each player. Phoebe could say any word starting with the letter but for Nathan, he has to say a word with at least two syllabi.


*You can also add in time limit (like 10seconds). If the player was not able to say the word before the time is up, he/she will not get to keep the tile.


4) Player with the most tiles wins!


Last night, after all the tiles had been picked up, we added one more task for Nathan. He had to make 3 words with the tiles he collected. 


Easy easy but lotsa fun! 🤗🤗

You could even start with arranging the alphabets and sing the ABC song before starting. 

Go try it out and share with us how we can create more ways to use this set of materials! :)

Follow us on instagram!
Papa Elvin: @elvinfoong
Mama Esther: @estherlaoshi

Facebook page: The Foong Family


Tuesday, 2 May 2017

Mother's Day DIY necklace!

I thought this is an improvement! 

I looked back at my posts on instag (@estherlaoshi) and blog and realised I am always super last minute when it comes to DIY/Craft for festivals and ended up readers and friends won't be in time to try their hands on the ideas. See see see! This time I am a bit earlier! *clap clap clap*

So what's up this round?
We are making these little pendants for necklaces!!


Things we need:
(1) Shrinking Paper
(You can purchase A4 sized ones at $1.50 per sheet from Overjoyed.)
You can see which Colour or shade you like. I personally think white, translucent and transparent are the easiest to work with.

 
Shrinking paper feels like transparency paper (people my time would know) and will shrink near 40% after putting it in the oven. 

(2) Pencil for sketching
(3) Black permanent marker for outlining 
(4) Permanent Colour markers or Colour pencils for filling in the colours
(5) necklace accessories / string 

 
(6) hole puncher
(7) oven toaster


Step 1:
Tell your child about Mother's Day and other than showing appreciation to mothers, we can also use this day to appreciate motherly figures in our live.

Step 2: Show the pictures of end-product from this post to your child so he or she can visualise better.
 
Step 3: Draw and Design!
If you are using the translucent or translucent shrinking sheets, you may wish to let your child draw on white paper first THEN tape the corners of the shrinking sheet and let him or her trace the finished drawing.
For me, I let the kiddo draw straight onto the white shrinking sheets. The pencil mark will be quite faint so some guidance will be needed. 


Step 4: Colour!
This is kinda tricky.. because the surface of the shrinking sheets are so smooth, the ink from the water Colour is quite wet and smudges when in contact with the black outline. If you use Colour pencils, you will need to use quite some strength and effort to get the Colour on. Don't worry about the Colour pencil mark being really light! When the sheet shrinks, the Colour darkens (like concentrated!) 
Do advise your child to use the lighter shades for the markers, as the colours really darken by quite a bit.
 

Step 5: Cut out the shapes
Do not trim it near to the outline. Keep a general shape and leave at least 2-3mm away from the outline.

Step 6: PUNCH HOLE at places you want to put the loop or string or chain
You must punch at this point because once you bake/heat up the shrinking sheet, the plastic/acrylic piece goes as thick as 1.5mm and is way to hard to punch! U may end up having to find a drill!!!!

In the picture below, Phoebe wanted the two girls to hold hand so I punched the holes in their palm.
 

Step 7: Warm the oven to 120degree celcius and place the artwork onto the flat tray and into the oven.
Do not use the grill tray! Upon heating, the shrinking sheet will curl up before opening up and becoming flat. You won't want the piece to drop through the gaps!
Note: Low heat and wait patiently is better... Nathan's aeroplane went it at too high a temp and ended up almost melting.. in my attempt to take it out, it got stuck a little and it went out of shape... :(

Step 8: FLATTEN IT!
Standby a thick book beside your oven. Once you take the piece out, put on the table and immediately put the book on the soft warm plastic so it will be nicely flattened. This is a very important step and you must do it FAST.
Once the plastic cools, you cannot change the shape anymore...

Step 9: Put the rings/string/chain on!
YOU ARE DONE! :)

 
Nathan and Phoebe worked on a A5 size shrinking sheet and these are the end product. Shrunk quite a bit eh! Try not to draw pictures with small details.. after shrinking, they just look like a blot of black..

Something easy this time round! You can also make smaller pieces and glue them onto earring studs or string them to become dangling earrings. Any beads and craft shop should sell these raw materials. 

Enjoy creating! :)

Friday, 17 March 2017

4 MUST-DOS when you visit the fire station

Do you know you can visit fire stations every Saturday between 9am to 11am?


We have been to a few and here are some MUSTS!


(1) Decide which type of fire station you wish to visit


Boon Lay and Woodlands fire stations are more kampung style. They are only two storeys as compared to new and modern ones like Bukit Batok fire station which can go as high as 8 storeys! Technology and facilities also slightly different.


(2) Ask and you may be given!


Don't be afraid to ask for demonstrations or some opportunities to ride on the vehicles or even have some hands-on activities like trying out the water hose and search for items in a smoke room!


The smoke room experience was really quite interesting. The kids were told that we have to find someone who is stuck in a fire in the room. We went in groups of 6, with two kids given torch lights. The room was so smokey that the visibility is like 1-2 metres. To help the visitors, they have placed little flashing green arrows to guide us to the "person" (which is actually a big jacket placed at a corner on the floor). It was a great simulation that allowed our kids to know the job of a fireman better. AWESOME!


The water hose! The kids got to increase and decrease the volume and also the type of spray (Wide or narrow).


By far, all the SCDF personnels have been nice and always agreeable to let the children experience the vehicles, gadgets and facilities.


Previously, Boon Lay station also brought our kids to visit the operation room which you can see the map and the different buttons. It was so cool!!!!!


At our last visit (this time with the kiddos' school), the firemen also demonstrated how to suit up and even simulated saving someone from third floor! Imagine all the action! Taking the long ladder from the fire engine, extending all the way up to the top and bring the person down! The kids were cheering when the firemen succeeded in the Mission!


(3) Ask for a fireman helmet!


For Neighbourhood fire stations, you will surely get it. BUT if you go for popular sites like Central fire station, be prepared to be there early and snatch for your piece. (I personally don't see a need to rush for popular sites. there are so many fire stations around!)


The firemen issued the hats and briefed the kids about the history of the station. Woodlands fire station is one of the oldest fire station in Singapore.


(4) Teachable Moments

There are so many teachable moments visiting the fire station. But do take the opportunity to educate the children on appreciation and a heart of gratitude ❤️. Tell the children about how fireman's job is dangerous but they choose to put others above themselves. Firemen are on shifts, which means some times they have to stay up at night which is not good for health. They have to stay in the station and not be able to go home. Yet, they chose to be firemen. :)


Hope these information will help you have a fruitful excursion with your kiddos! 


HAVE FUN!!!!!!


For more information, visit the SCDF link below!

visit to fire station